Presenting to camera isn’t easy regardless of whether you’re a seasoned pro or a complete novice. There are many skills to learn in order to showcase YOU and your brand in the best light possible.
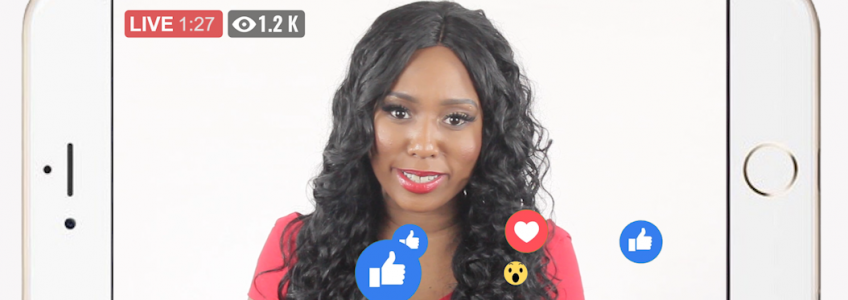
More and more people are taking to Facebook Live to share their message, thoughts, tutorial or expertise with others. The benefits are great because not only can they lead to more clients but moreover can get you noticed as a leading expert in your niche.
If you’re a coach, vlogger, speaker or business who’s thinking of (or already using) live streaming tools, wouldn’t it be great to stand out from the crowd with more compelling content? What if I said you can create appealing videos at little to no cost? I will do a full step-by-step video tutorial on this later; in the meantime if you’d like to produce and present more professional looking online content, get a load of these tips for creating video for FREE in part one of my “Facebook Live: Best Practices” series.
All you need is a formula of insight, a serious attitude towards your presenting success and a little “spit and polish”, and you can begin to implement these tips right away!

1. TAKE TIME TO PREP!
Preparation is key to any presentation, whether on or off screen. Take time to prepare your content and know exactly what you’re going to talk about in advance. Think about the message or expertise you’d like to share and what you’d like the outcome to be.
2. PROMOTE, PROMOTE, PROMOTE
Now you know your content it’s time to choose a date and time for your Live Event. You may have to experiment with this for a while to find the best time to suit your audience. For example, your following may be early risers who’d like to watch with a morning coffee, or perhaps evening viewers who’ll kick back with a glass of wine after putting the kids to bed. Whichever time you decide, make sure to post regularly on your social media handles just like an advert you’d see on TV! Let your potential audience know the title of your “live show” along with the date, time and place it can be viewed.
3. DO A DUMMY RUN
As a TV Presenter myself I wouldn’t dream of going live on-air without having some form of run-through or production meeting, therefore I would advise you to do the same! Make time for a “dummy run”… Set your video on “Only me” (private mode) and take time ahead of schedule to ensure your framing, lighting and sound are alright. It’s also a great time to test your wifi out too. To add, it’s a great excuse to get rid of those jitters or nervous / excitable energy by taking a moment to “anchor yourself”. Once you’re happy you can stop the private broadcast and watch back to make sure all is well. Whatever happens though, when you’re finally ready to “go-live” make sure you set your audience to the correct setting for who you want to broadcast to.
4. WRITE A GOOD VIDEO DESCRIPTION
Write a compelling description for your video so when viewers see you appear on their timeline they are curious to click and hear more! For example: “5 Top Tips for presenting on Facebook Live”.
5. WRAP IT UP
I recommend between 20-40 mins for a Facebook Live tutorial or event. This should also include time to acknowledge your viewers and answer any questions they may have. Don’t forget to sign off with your “call to action” either; whether its a link to share your event, your service or even your own product, such as a book.
I hope these tips help you! Let’s start saying “NO!” to bad videos and begin creating output which could rival any professional presenting expert!
If you have any questions please email me as I’d love to answer them and if you’d like to gain even more skills at one of our exclusive practical “taster workshops” in London, click here to find out more.
Until next time….
